
Fix Kart Oversteer by Finding Where the Rear First Slides
Diagnose kart oversteer on entry, at the apex or on exit. Test braking, steering and throttle before changing an owner kart’s setup.
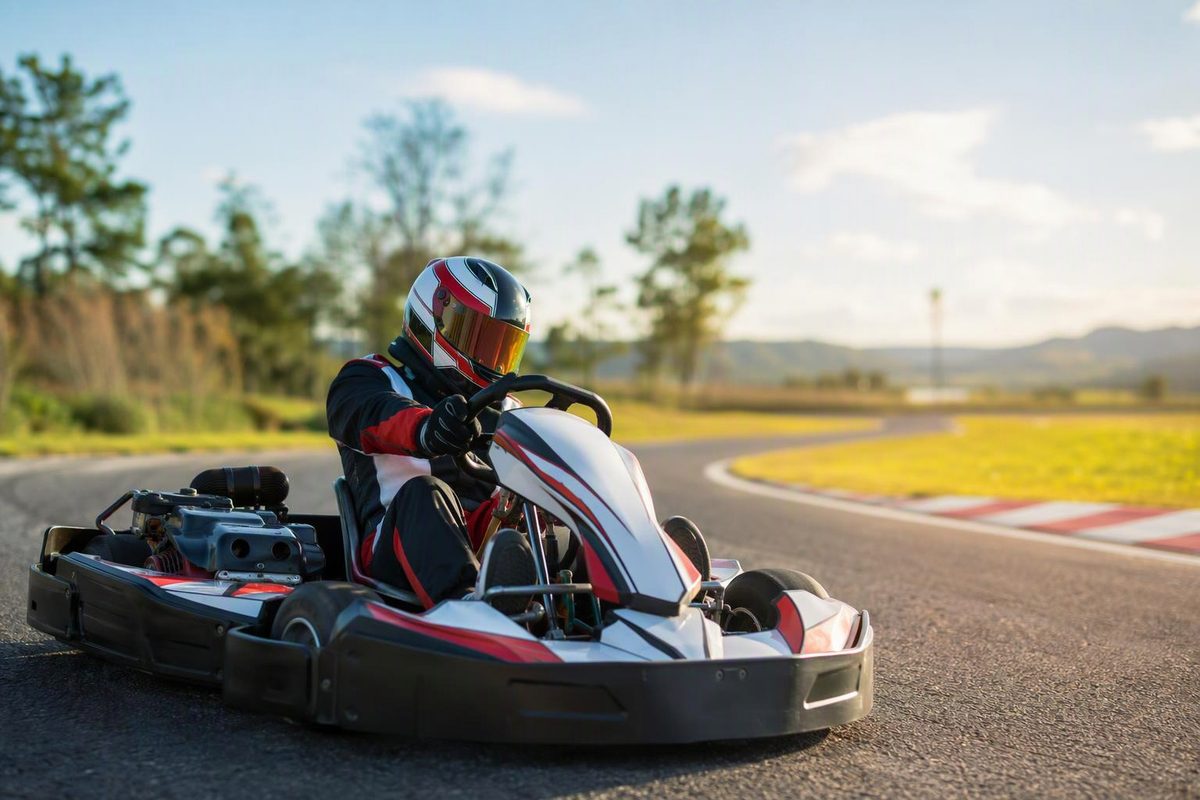
To fix oversteer, first identify where the rear starts sliding. For entry oversteer, try an earlier braking point, finish braking before turning and use a smoother steering input. For exit oversteer, apply throttle more progressively as you unwind the wheel. Test driving changes before tuning the kart.
Oversteer means the rear loses grip and swings outward, rotating the kart more than you intended. Excessive entry speed, abrupt steering and aggressive throttle application can all contribute, but they need different fixes. KartClass’s oversteer guide separates these causes rather than treating every slide as a setup problem.
If handling changes suddenly, control is unpredictable or you suspect a mechanical fault, stop safely and ask track staff or your mechanic to check the kart before testing driving changes.
Find the first loss of grip
Choose one troublesome corner and notice the first movement of the rear—not just the correction you make afterward.
| When the rear steps out | First driving change to test | Useful checkpoint |
|---|---|---|
| During braking, before turn-in | Brake earlier with the wheel straight; avoid holding enough pressure to lock the wheels | The kart slows without the rear swinging sideways |
| As you turn in | Reduce entry speed first; then test a less abrupt steering input | You reach the apex without immediately correcting the wheel |
| Near the apex | Make the steering input more progressive | The rear stays settled through the middle of the corner |
| Immediately after a kerb strike | Try a line that avoids the kerb | The slide no longer starts at that point |
| When you apply throttle | Feed in power more progressively while opening the steering | You accelerate without the rear stepping out |
These are diagnostic tests, not proof of a particular fault. Formula Fast’s braking guidance supports earlier, straight-line braking and avoiding sustained rear-wheel lock. KartClass recommends slower initial steering, adjusted throttle application and avoiding kerbs that unsettle the kart in its oversteer guide.
If the front pushes wide instead, that is understeer. If the kart bounces or hops rather than sliding smoothly, start with the separate guide to grip, binding and hopping.
Entry: separate slowing down from turning
For a driver struggling with entry slides, straight-line braking is a useful reset—not a rule that all experienced drivers must follow forever. K1 Speed recommends slowing with the wheel straight, releasing the brake and then turning as a beginner baseline.
Pick a fixed braking reference slightly earlier than your current one. Slow enough to make the corner comfortably, release the brake before turn-in and steer progressively toward your apex reference. Do not compensate for a rushed entry by wrenching the wheel harder.
On a rear-braked kart, excessive brake pressure can lock the rear wheels and trigger a slide. Reduce pressure if they lock rather than continuing to hold them locked. Formula Fast explains this behaviour for its rear-axle-braked karts; check your kart’s brake arrangement rather than assuming every racing kart is identical.
If you have been trail braking—carrying brake pressure into the turn—temporarily remove that overlap. Rebuild a stable entry before refining the technique with the go-kart braking guide.
Middle and exit: remove the sudden demand
If the rear first slides at turn-in or near the apex, test a smoother initial steering movement once entry speed is controlled. “Smooth” does not mean turning so slowly that you miss the corner: use the same turn-in reference and aim for one deliberate input rather than a sharp jab followed by corrections.
If the slide follows a kerb strike, try a clean line that avoids it. Do not keep using an unsettling kerb simply because another driver does.
For a slide that begins with throttle application, try a more progressive pedal movement as you straighten the wheel. Avoid forcing the kart toward an exit it cannot yet reach. Use racing-line geometry to review your entry, apex and available exit space.
Check the change over three clean laps
Practise only within circuit rules, with required safety equipment and suitable space around you. Do not deliberately provoke spins.
For one corner:
- Keep your entry, apex and exit references fixed.
- Change one input from the table.
- Compare three clean laps in similar conditions.
- Record where the slide begins, whether you need a steering correction and the lap times.
First establish control; then look for pace. A slower but stable test is a useful starting point. Judge performance gains by repeatable times—not just a calmer sensation—and do not return to an unsafe technique to chase a faster lap.
Owner-kart tuning comes afterward
In a rental kart, report persistent handling problems to staff. Do not adjust tyres, brakes or chassis hardware yourself.
For an owned kart, check tyre condition, pressures and mechanical security against the relevant manuals before driving tests, and record your current settings. Return to the manufacturer’s baseline if previous changes have left the setup unclear.
The OTK chassis setup guide recommends starting from its standard setup and explains that adjustment effects vary with track, weather and grip conditions. There is no responsible universal instruction to “widen the rear” or “fit a softer axle” for every slide.
Once the driving inputs are repeatable, use the exact chassis and tyre guidance to test one setup change at a time. Start with the tyre-pressure testing guide rather than changing several settings to chase an undefined loss of grip.