
Go-Kart Brakes: Brake Later Without Ruining the Exit
Learn a repeatable go-kart braking technique, diagnose common entry mistakes, practise threshold braking safely and adapt from rentals to owner karts.
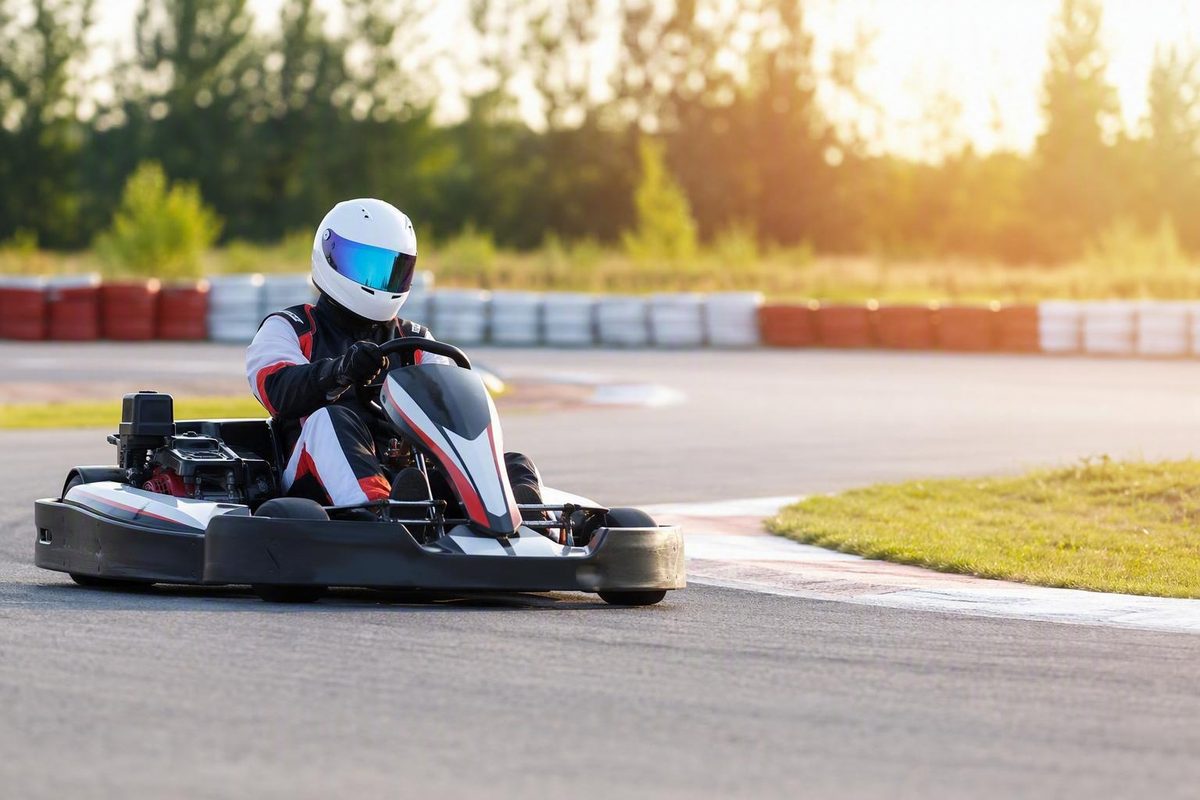
Fast braking is not simply braking as late as possible. The useful goal is to reach the correct entry speed at a repeatable point, release the brake without unsettling the kart, make the apex and accelerate cleanly.
For most rental drivers, the best starting sequence is:
- Choose a fixed braking marker.
- Do most of the braking while the kart is straight.
- Apply the pedal firmly rather than dragging it for a long distance.
- Reduce pressure as the kart slows.
- Turn in only when the kart is under control.
Different karts can have noticeably different pedal travel and lock-up behaviour, so relearn the brake whenever you change kart or class. Kart Class recommends becoming familiar with a kart’s braking system in a controlled setting and using fixed trackside references rather than guessing each lap (Kart Class).
What the brake should achieve
Treat braking, turn-in and acceleration as one connected process. If you carry too much speed into the corner, you may miss the apex, add steering lock and delay the throttle. If you over-slow the kart, you give away speed before the corner even begins.
Start with a simple separation of tasks:
- Entry: brake in a straight line to reach a manageable speed.
- Apex: release the brake, turn once and let the kart rotate.
- Exit: unwind the steering and accelerate without running out of road.
This is easier to judge when you already have a clear line through the corner. If your turn-in, apex and exit change every lap, first work through kart racing lines; otherwise, a braking change cannot be evaluated cleanly.
Build a repeatable braking zone
Choose one medium- or slow-speed corner with good visibility and adequate runoff. Follow all circuit instructions, and do not practise unusual braking manoeuvres in traffic.
Pick a marker that will not move: a barrier joint, painted line, kerb change or marshal post. Begin conservatively. Brake at that marker for several laps and keep the line unchanged.
Use this pedal sequence:
- Initial application: press firmly while travelling straight.
- Peak pressure: approach the greatest pressure the tyres can accept without sustained lock-up.
- Release: ease pressure away as speed falls and turn-in approaches.
- Rotation: turn the kart after the rear has settled.
The maximum useful pressure immediately before wheel lock is commonly called threshold braking. A brief chirp or small movement can reveal where the limit is, but repeated lock-ups mean the application is too abrupt or too strong. Kart-specific coaching also warns that holding an aggressive application can make the rear slide; it recommends beginning to release once the brake grabs (Kart Class).
Do not press the accelerator and brake together as a default technique. A RiMO rental-kart manual says drivers should be instructed to drive without simultaneous accelerator and brake input (RiMO). Separate inputs give you a clearer test of whether the braking point, pedal pressure or release caused the result.
Read the corner, not just the braking marker
Use observable outcomes to decide what to change:
| What happens | Likely issue | Next change |
|---|---|---|
| You coast for a long time before turn-in | Braking too early or too much | Keep the pressure pattern; move the marker slightly later |
| The rear steps out before turn-in | Too much pressure, too abrupt an application or excessive steering while braking | Reduce peak pressure and keep the kart straighter |
| You miss the apex and wait for the throttle | Too much entry speed | Brake slightly earlier; do not try to rescue the lap with extra steering |
| You make the apex but exit slowly | Over-slowing or releasing too late | Reduce braking slightly while preserving the same turn-in |
| Results vary every lap | No stable marker or inconsistent pedal application | Return to an earlier marker and repeat the same sequence |
Change only one variable at a time. Moving the marker later while also changing the line and pedal pressure tells you very little, even if one lap happens to be faster.
A six-lap practice block
On a clear session, use one corner for this drill:
- Laps 1–2: conservative marker, straight-line braking, clean apex.
- Laps 3–4: same marker, but make the initial application firmer and the release smoother.
- Lap 5: if both previous laps were controlled, move the marker later by one small, visible increment.
- Lap 6: repeat lap five rather than moving it again.
Your checkpoint is not “Did it feel dramatic?” It is: Did the kart make the intended apex, could you accelerate at the planned point, and was the sector or lap repeatable? Keep the later marker only if the whole corner improves.
Add trail braking only after the baseline works
Trail braking means retaining some brake pressure after turn-in, then progressively releasing it toward the apex. It can help rotation in some karts and corners, but it also combines braking and steering, reducing your margin for an error.
First establish straight-line braking with a clean release. Then test only a small amount of residual pressure in one suitable corner. If the rear becomes unpredictable, the apex moves around or throttle application gets later, return to the baseline. The stopwatch and exit quality decide whether the technique helps—not how aggressive the entry feels.
When you move from rentals to an owner kart
Do not carry a rental braking point straight into unfamiliar equipment. Start early and learn the new pedal travel, initial bite and lock-up point. Kart Class specifically notes that braking systems perform differently across kart brands (Kart Class).
Keep driving technique separate from maintenance. An inconsistent or doubtful pedal is not something to compensate for by changing your line. Stop and report it in a rental kart. On an owner kart, follow the chassis manual and class rules, and have a competent person inspect the system. CRG’s owner manual calls for periodic checks of brake-fluid level and brake pads to ensure correct operation (CRG); the correct fluid and service procedure are manufacturer-specific.
The progression is straightforward: make the braking point repeatable, make the pressure decisive, make the release calm, and judge the work by the apex and exit—not by the latest possible pedal application.