
DIY Go Kart: Plan Your Build Before Buying Parts
Choose a DIY go kart kit or owner-kart project, check parts compatibility and safety, and keep your first driving practice separate from setup changes.
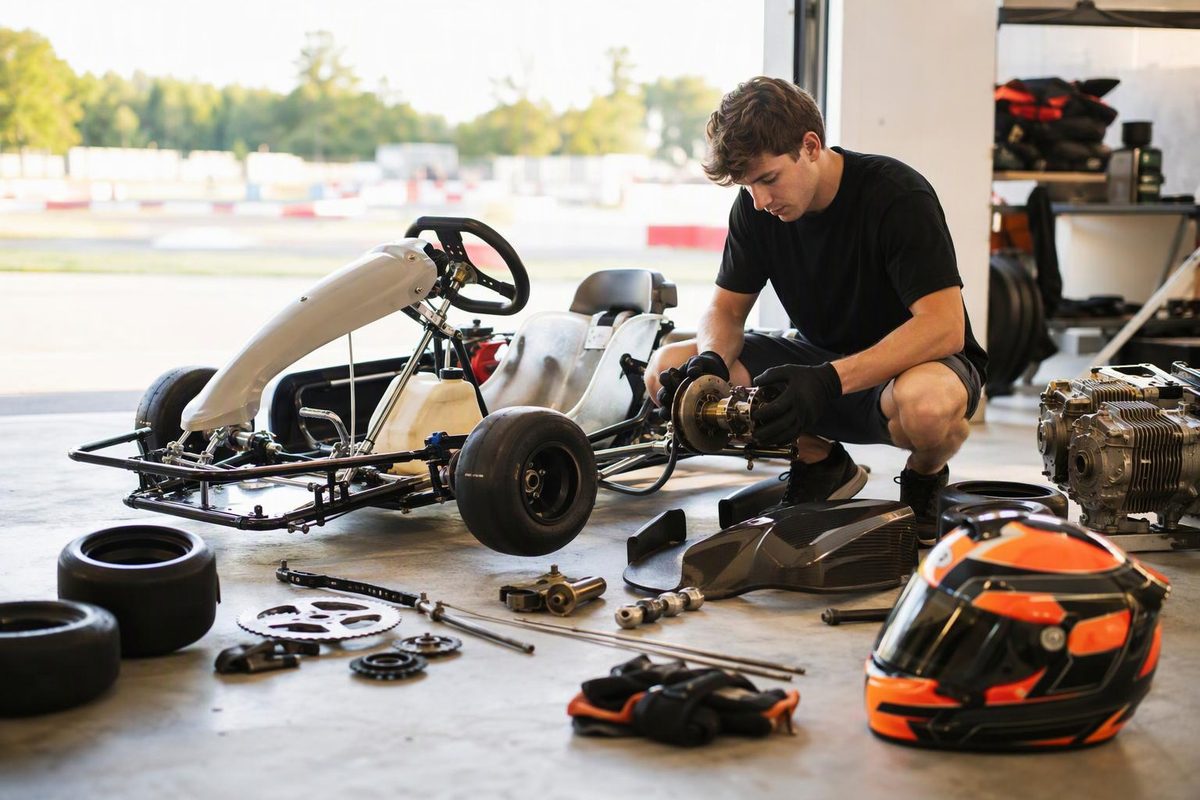
A DIY go kart can be a kit-assembly project, a rebuild of an existing kart, or a frame fabricated from scratch. Choose the route by what you want to do with the finished machine—not by which engine you already own.
If your goal is club racing, confirm the class and accepted equipment before buying anything. For a first owner-kart project, consider assembling or restoring a suitable manufactured racing chassis rather than designing your own frame. If the goal is recreational building, choose a documented kit intended for that use.
This is a build-planning checklist, not frame plans or a substitute for model-specific assembly instructions.
1. Decide where it will run
Ask the intended venue or club:
- Does it accept privately owned karts, and would it accept this particular build?
- Which class, chassis, engine, brakes, tyres and bodywork are permitted?
- What inspection and driver equipment are required?
- Are there separate conditions for practice sessions?
A recreational kart is not automatically a racing kart. For example, the American SportWorks Fun Kart safety manual explicitly says its covered vehicles are for off-road use, not rental tracks or racing.
Nor does a working brake system establish race eligibility. In Motorsport UK’s 2026 rules, Edition 3, Chapter 18, Appendix 8, drum brakes are prohibited, and the technical regulations must be read alongside the class regulations. That is a UK example, not a worldwide rule: get the requirements for your intended competition and event year.
For the wider progression, see how to start competitive go-kart racing.
2. Choose the right amount of DIY
| Route | Useful when… | Check before committing |
|---|---|---|
| Documented recreational kit | You want an assembly project for an appropriate permitted site | Instructions, intended rider size, supplied parts and operating restrictions |
| Manufactured racing chassis or donor kart | You want hands-on ownership with a club-racing destination | Class eligibility, condition, service history and replacement-parts support |
| Scratch-built frame | Fabrication and engineering are the project itself | A suitable design, competent fabrication and inspection, and whether any intended venue will accept it |
Do not treat generic frame dimensions or a welding tutorial as a complete vehicle design. Frame strength, steering, braking, control layout and driver protection need to work together. If you cannot assess those systems, choose a documented assembly route and arrange knowledgeable help.
3. Make a complete parts list
“Kit” does not necessarily mean ready to drive. The Azusa 3551/3557 components checklist, for example, states that neither the engine nor clutch is supplied. It lists the steering, axle, brake, controls, seat, chain, stop switch and guards separately. Confirm the contents of the exact kit being sold before ordering.
Account for:
- Chassis and driver fit: frame, seat, mounts, floor and pedal reach.
- Steering: column, supports, spindles, tie rods and specified retaining hardware.
- Rear assembly: axle, bearings, hubs, wheels, tyres and sprocket carrier.
- Braking: the complete specified brake system, pedal and linkage.
- Powertrain: compatible engine, mount, clutch or torque converter, sprockets and chain.
- Controls and protection: throttle return, stop switch, fuel system, exhaust protection and drivetrain guards.
- Project costs: tools, consumables, missing parts, inspection, protective equipment and transport.
Check interfaces, not just product names: shaft and hub diameters, chain specification, mounting patterns and the drive unit’s intended application. Get compatibility confirmed by the supplier where the documentation is unclear.
4. Assemble to the instructions, then inspect
Inventory the parts before starting. Follow the actual kit, chassis and engine instructions for assembly order, torque settings, locking hardware, alignment and adjustment. Do not substitute a generic torque value or chain-tension measurement. Respect any restrictions on who may perform assembly or repairs.
Before starting the engine, work through a model-specific checklist. Useful inspection headings include:
- Steering moves freely through its range without interference.
- The throttle operates smoothly and returns fully when released.
- Brakes operate correctly, with secure connections and no visible leaks where hydraulic.
- Wheels, hubs, seat, engine mount and other fasteners are secure.
- Tyres are in serviceable condition and set to the specified pressures.
- Frame and components show no visible damage.
- Chain alignment and tension meet the specified requirements.
- Required guards are fitted and secure.
- Fuel lines and fittings are secure, without leakage.
- Required oil and other fluid checks are complete, following the engine and kart manuals.
These are starting headings drawn from the American SportWorks pre-ride checklist and safety guidance, not a complete inspection or specifications for another build. That manual also restricts assembly and repair work to designated dealers or authorised engine repair centres, as applicable. It does not endorse a DIY conversion of its vehicles.
Verify the stop-switch function according to your own instructions. Resolve every defect before driving, and have a competent kart technician inspect unfamiliar safety-critical work. Perform adjustments with the engine stopped and prevent accidental starting as instructed by the manufacturer.
5. Separate commissioning from driving practice
The first run is a controlled functional check in an appropriate, permitted area—not a lap-time test. Wear the required protective equipment and follow the manufacturer’s operating limits and venue instructions. Never run a combustion engine in a garage or other enclosed space. Stop for sticking controls, inconsistent braking, unusual vibration or loose components.
Once an eligible owner kart has been inspected and cleared for circuit use, practise one driving improvement: make corner entry repeatable before changing setup.
Choose one corner and keep the same braking reference, turn-in point and apex target for three clean laps at a conservative pace. Observe the exit: can you unwind the steering without an extra correction? Track operator K1 Speed’s introductory guidance likewise recommends building speed gradually and steering smoothly.
Record those observations before touching pressures, alignment or gearing. Use the repeatable-cornering drills once the kart is ready for normal practice. A completed build and a consistent driver are separate tasks; finish the first before testing the second.